Step By Step Guide to Creating a Cash Flow Table Using Sample Transactions
This will show you just how easy the app is to use, and how much simpler it is to
review your spending in a cash flow table instead of sifting through a long list of transactions.
This has opened in a new tab, so you can keep it separate from the main page. That way, you can
follow the instructions side by side without losing your place.
This takes between 5 and 10
minutes to complete.
Get The Sample Transactions
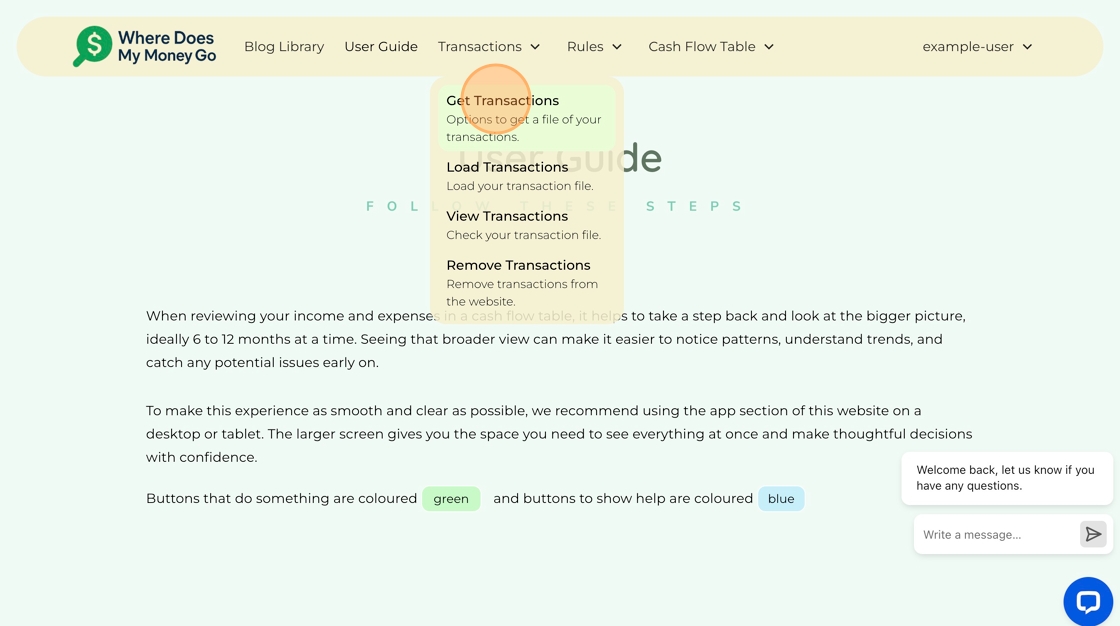
Step 1. Click "Get Transactions".
Go to the top menu and select "Get Transactions"
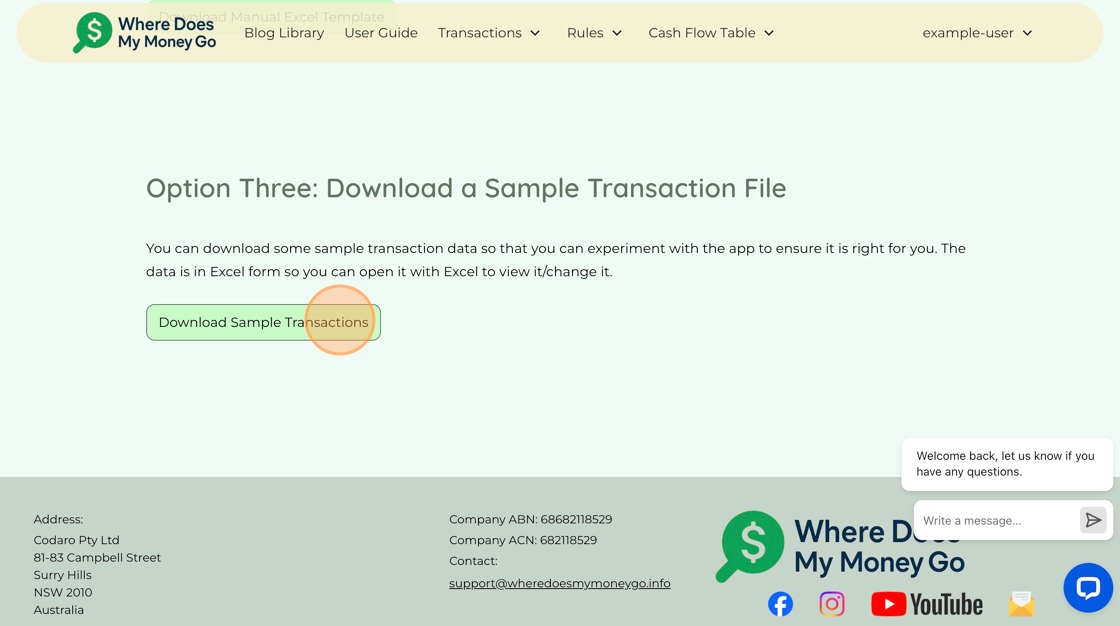
Step 2. Click "Download Sample Transactions".
Scroll down the page to "Option Three" and click the button.
Load Transactions
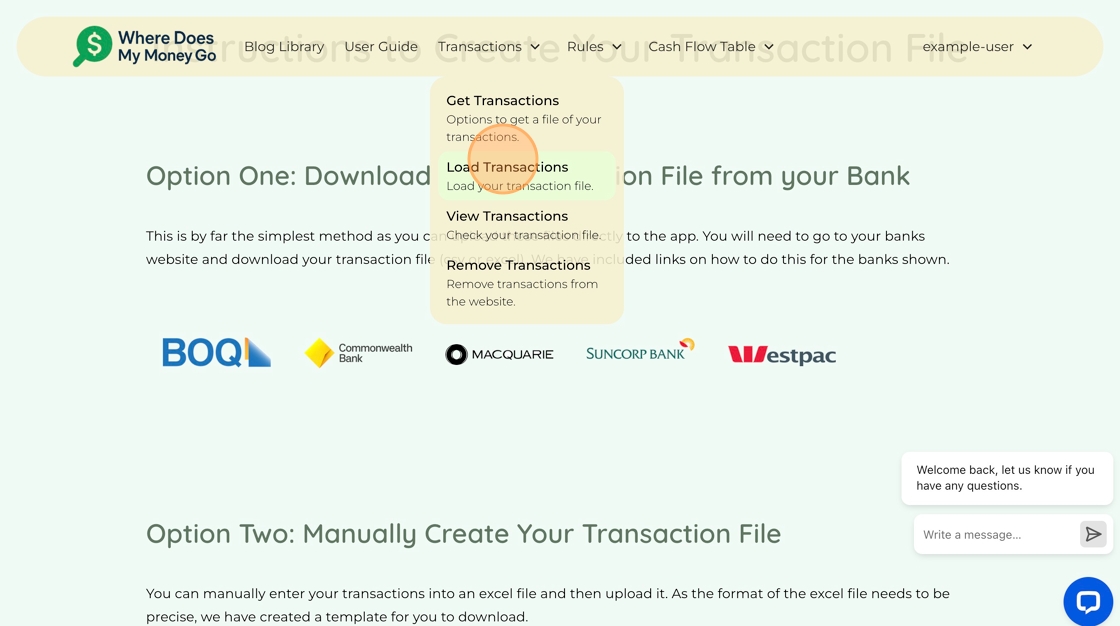
Step 3. Click "Load Transactions".
Now the transaction file is on your computer, the next step is to load it into the web app as though it were your transaction file.
Step 4. Click this dropdown and select "Manual Excel Template".
Manual Excel Template is the default selection, so you may need to do nothing.
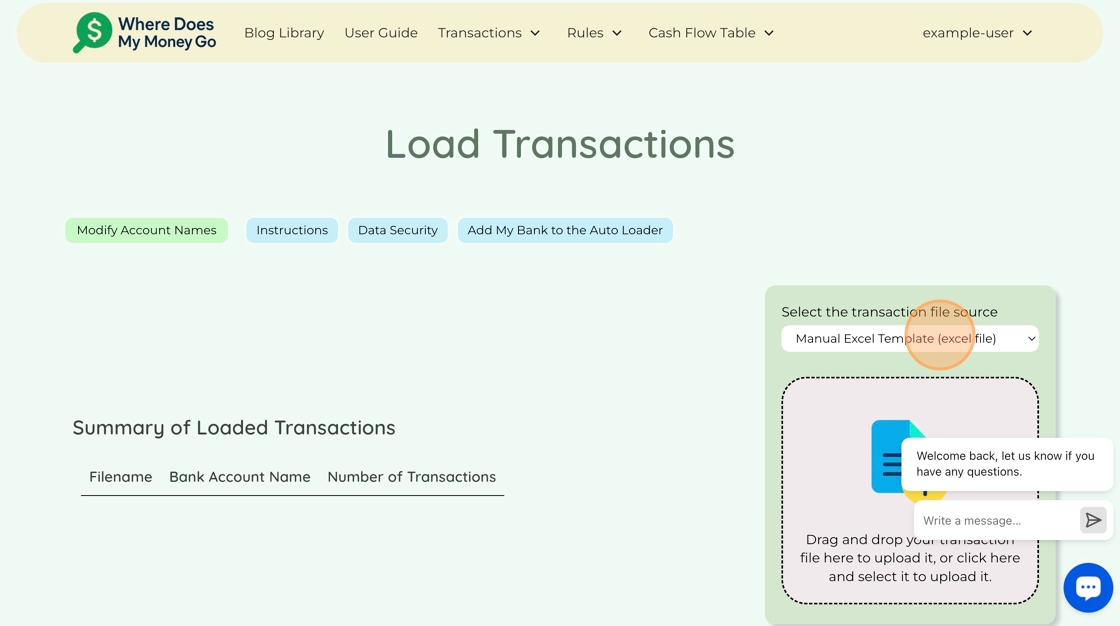
Step 5. To load your transaction file, either drag and drop your transaction file here to, or click here and select it.
This will load your transaction file into the web app. Once it loads you will see it appear in the summary of loaded transactions.

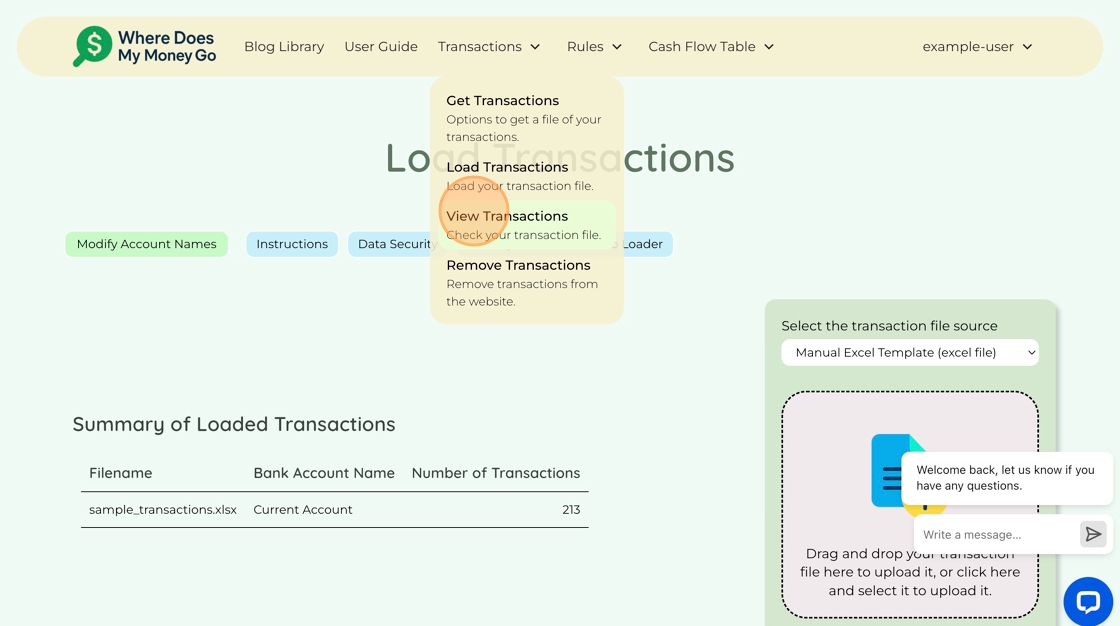
Step 6. Click "View Transactions".
The purpose of this is to check you have loaded the file correctly.
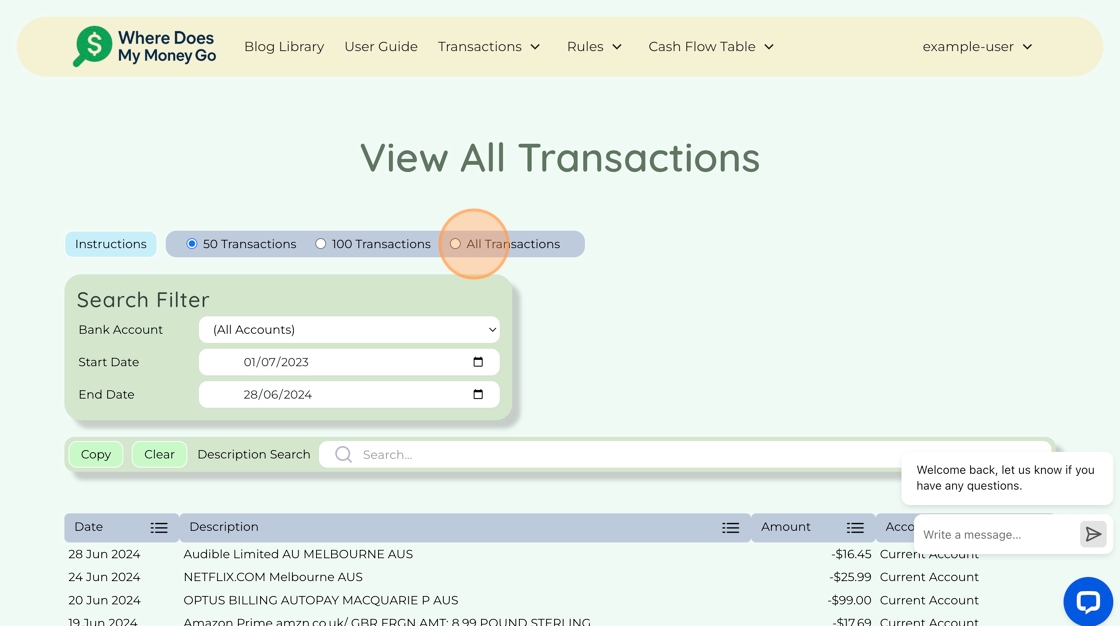
Step 7. Use the filters for Transactions (optional).
This step is optional. Use the filters to search for transactions. This is a list of all your transactions that have been loaded into the web app.
Add Default Rules
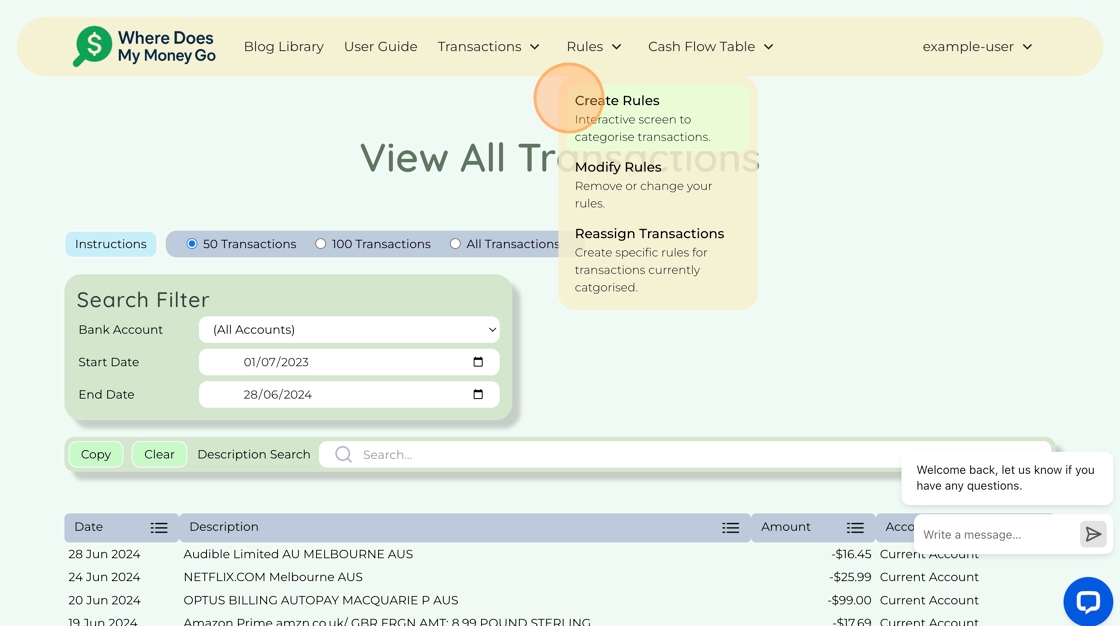
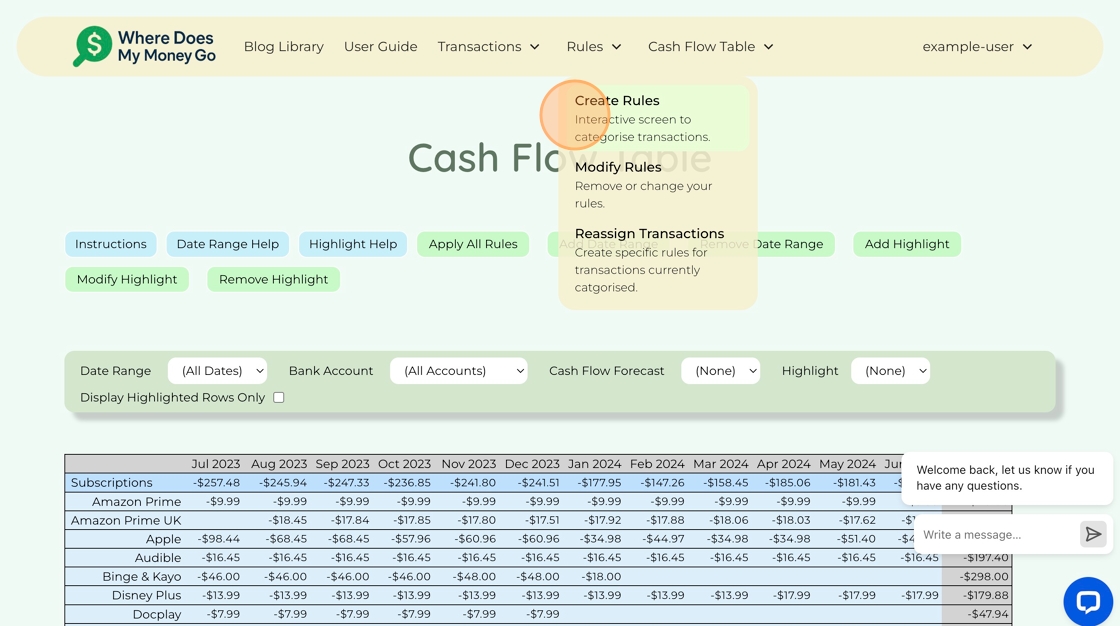
Step 8. Click "Create Rules" to create some rules.
These rules will categorise your transactions so they are categorised correctly in the cash flow table.
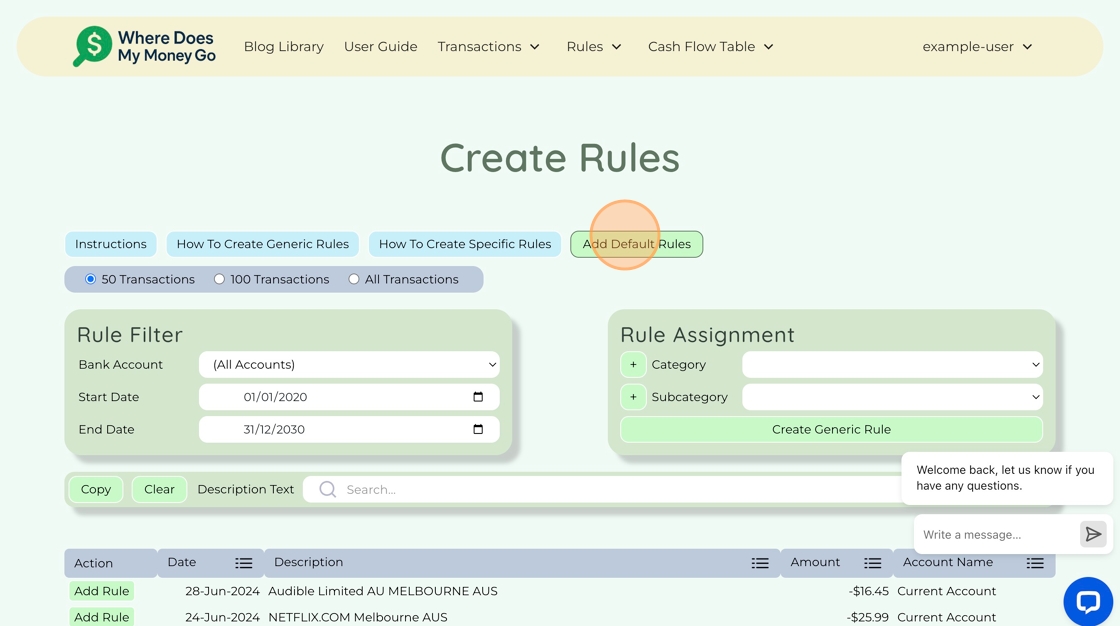
Step 9. Click "Add Default Rules".
This will add some default rules to help get you started. It uses logic inside the app to see if any of the default rules can be applied to your transactions. If they can be applied, it will add those rules for you.
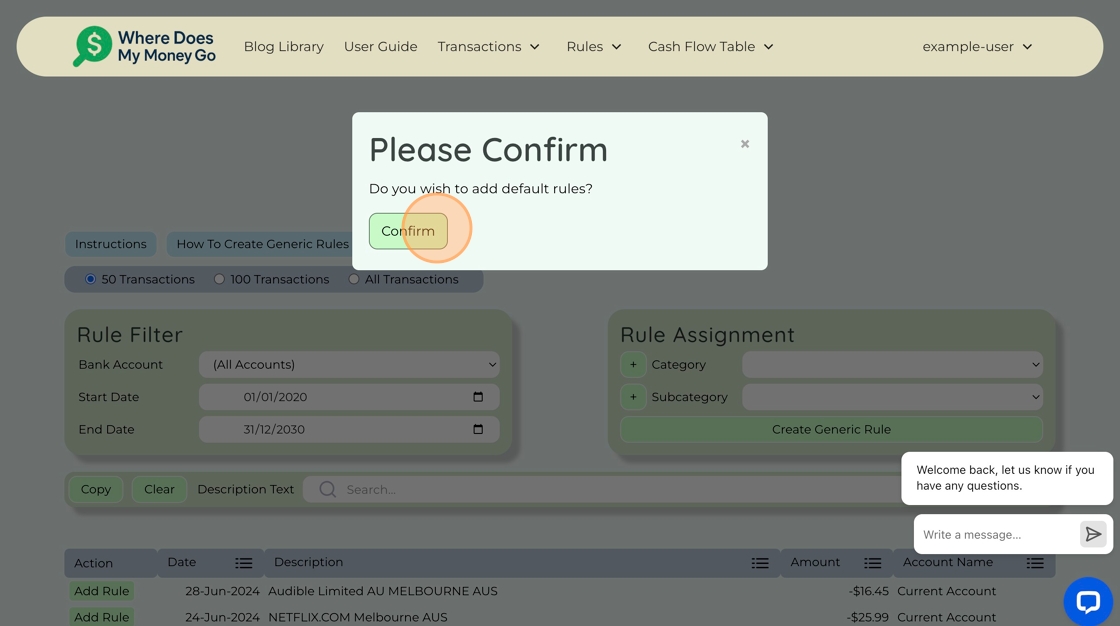
Step 10. Click "Confirm".
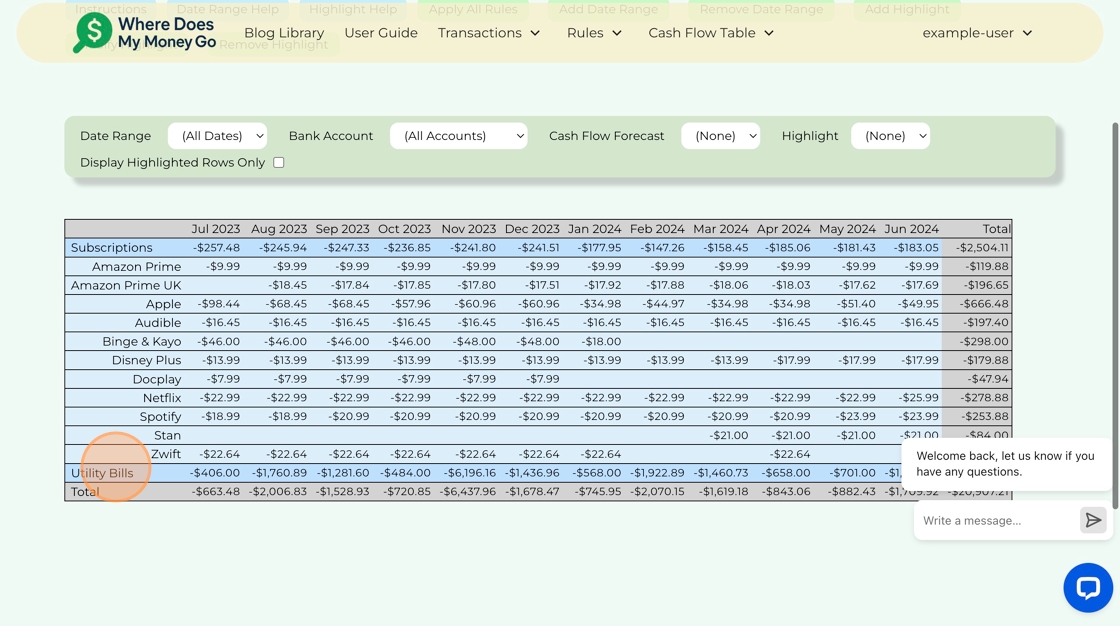
Cash Flow Table Features
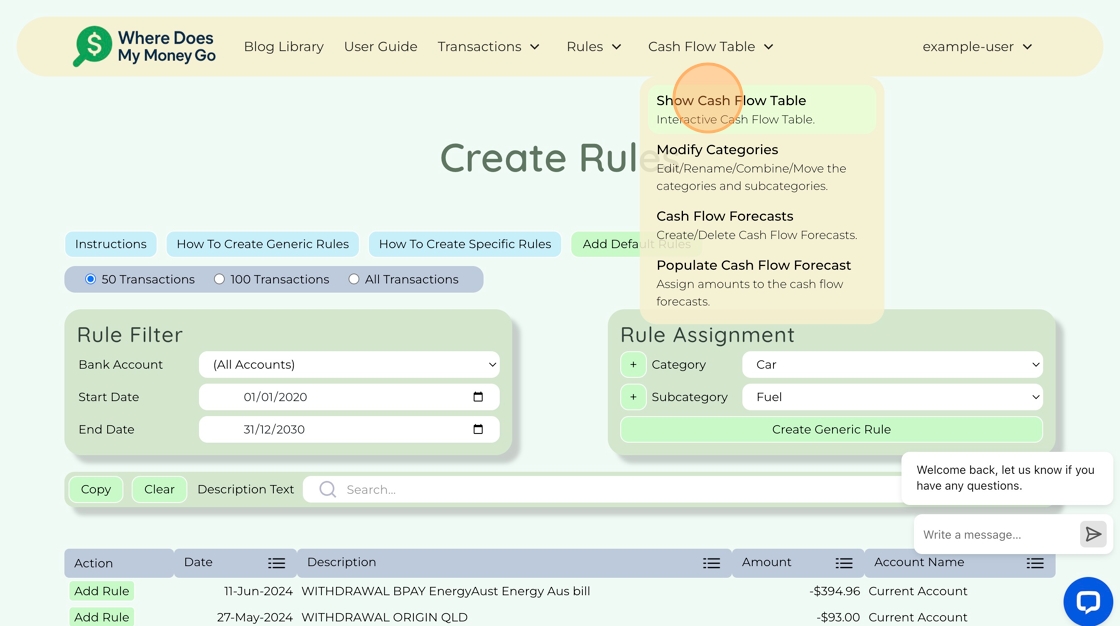
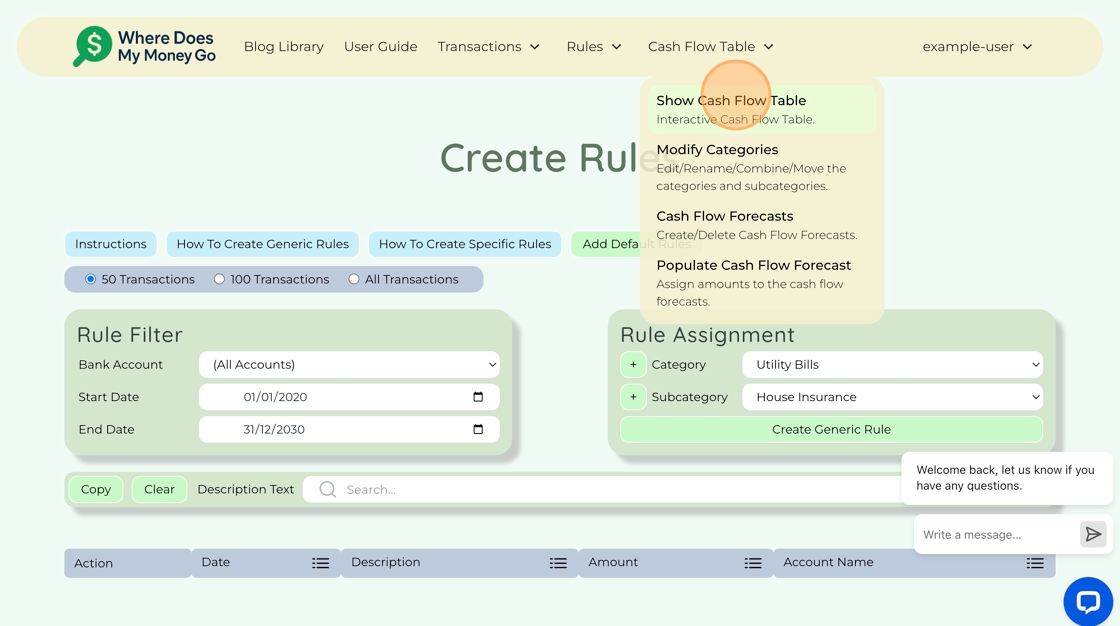
Step 11. Click "Show Cash Flow Table".
Now check the rules have been applied by looking at your cash flow table.
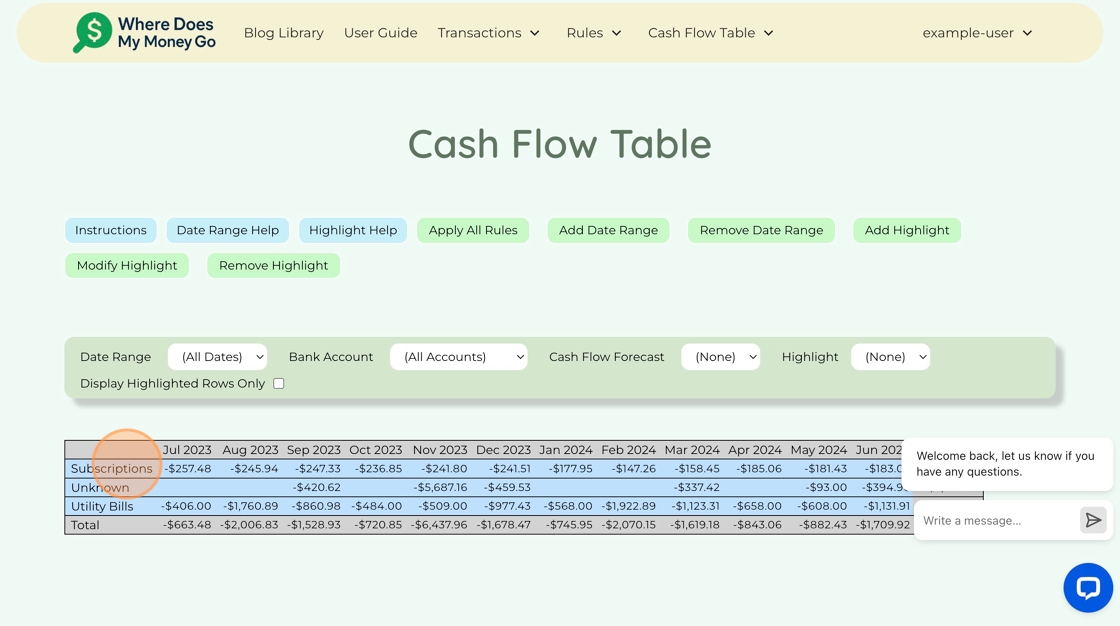
Step 12. Click on a Category.
When you click on a category it will expand and show you the subcategories. Categories are shown in the darker blue colour and are left justified.
Step 13. Click on a Subcategory.
When you click on a subcategory it will show you the underlying transactions.

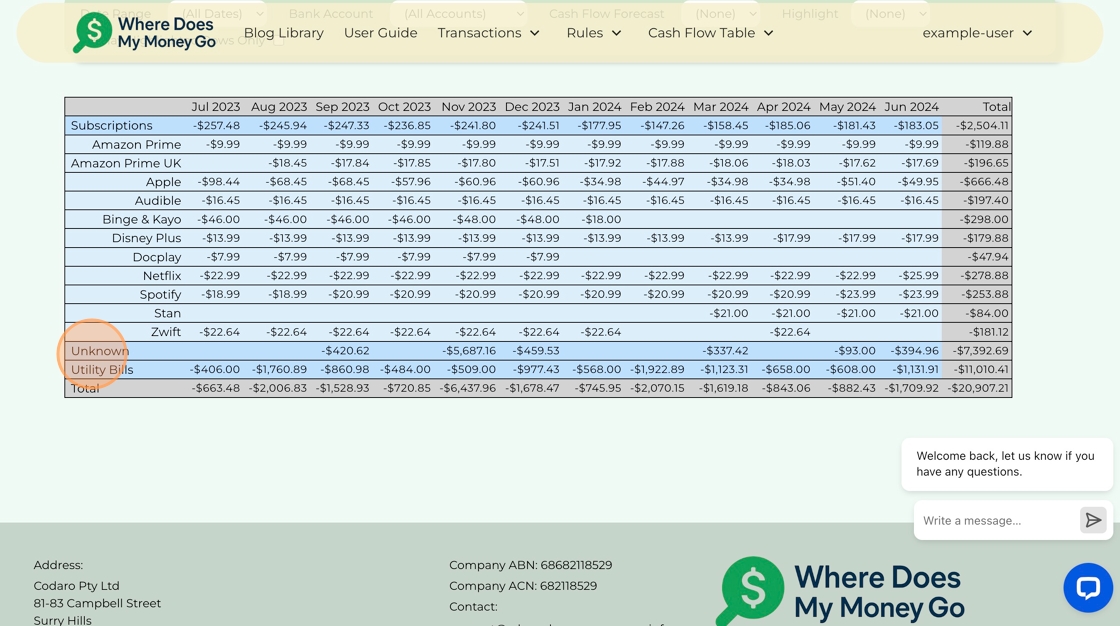
Step 14. Click the "Unknown" category.
Any transactions that have not been categorised by a rule will appear in the "Unknown" category. The subcategory will be the bank account name you have provided.
Create Specific Rule
Step 15. Click "Create Rules".
As there are some transactions that have not been categorised by a rule, we will
create some rules for them.
The transactions that appear here are the transactions without
rules to categorise them.
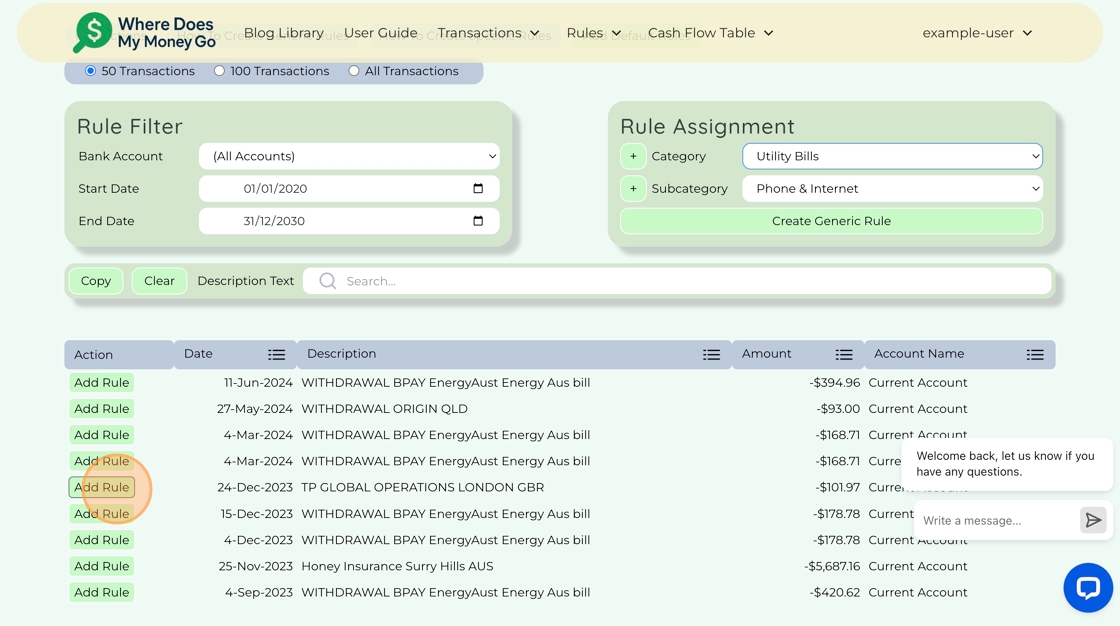
Step 16. Click "Add Rule" to create a Specific Rule.
A specific rule is a rule for that transaction only.
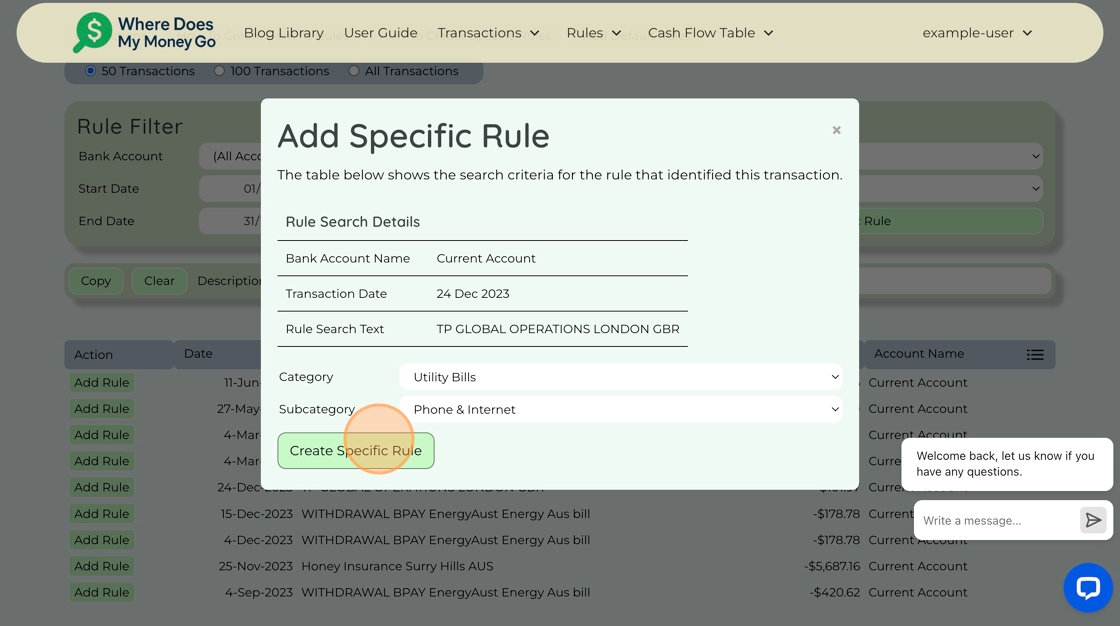
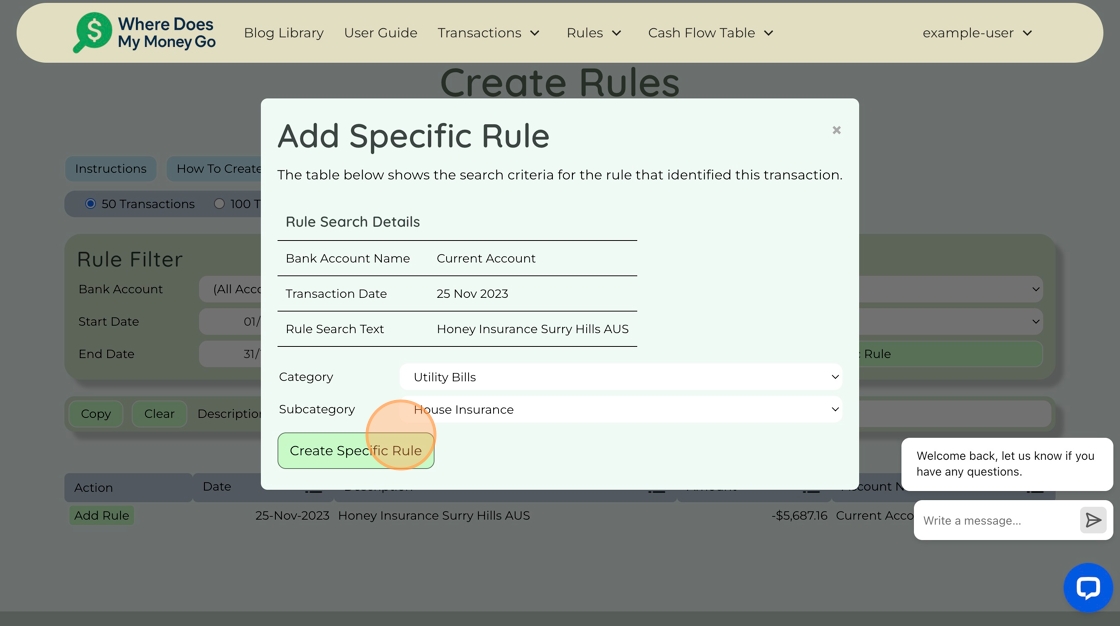
Step 17. Select the Category and Subcategory and click "Create Specific Rule".
Select the Category and Subcategory from the drop downs, and click "Create Specific Rule". Within this window you can only use existing Categories and Subcategories, later on we will show you have to create new ones.
Create Generic Rule
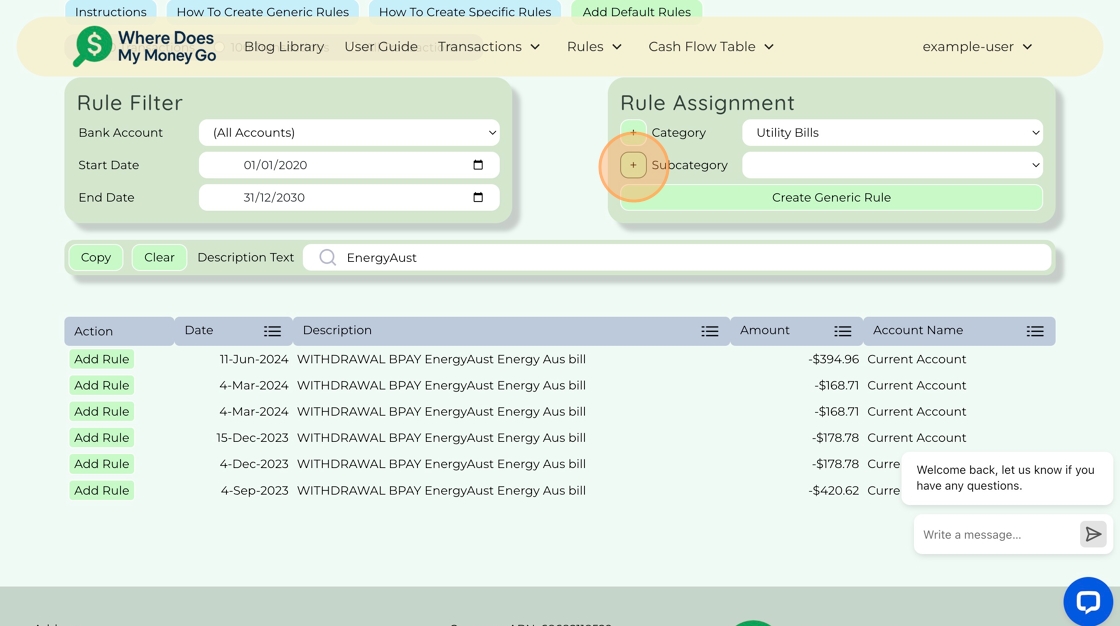
Step 18. Highlight "EnergyAust" and then click "Copy".
This will copy the highlighted text into the search box, which will only select
transactions with "EnergyAust" for the rule.
When you're creating a generic rule,
the filters you've set will be applied automatically, so you'll only see the transactions that
the rule will affect.

Step 19. Click "+" to Create a New Subcategory.
As the subcategory required is not in the drop down, click "+" to create it.
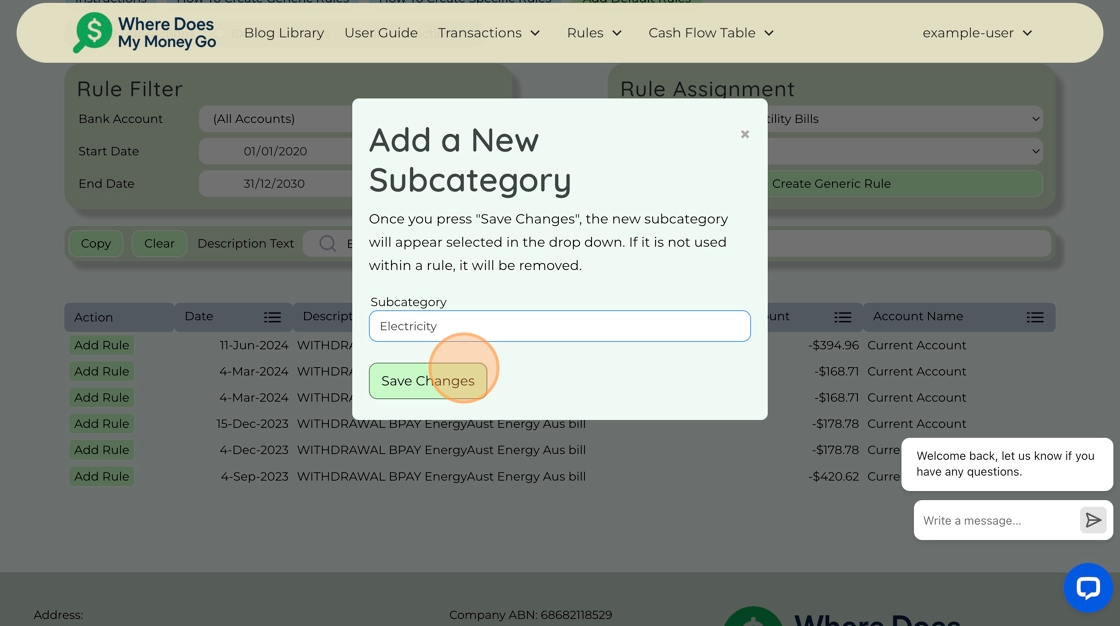
Step 20. Enter the Subcategory Name and click "Save Changes"
Type "Electricity" and click "Save Changes"
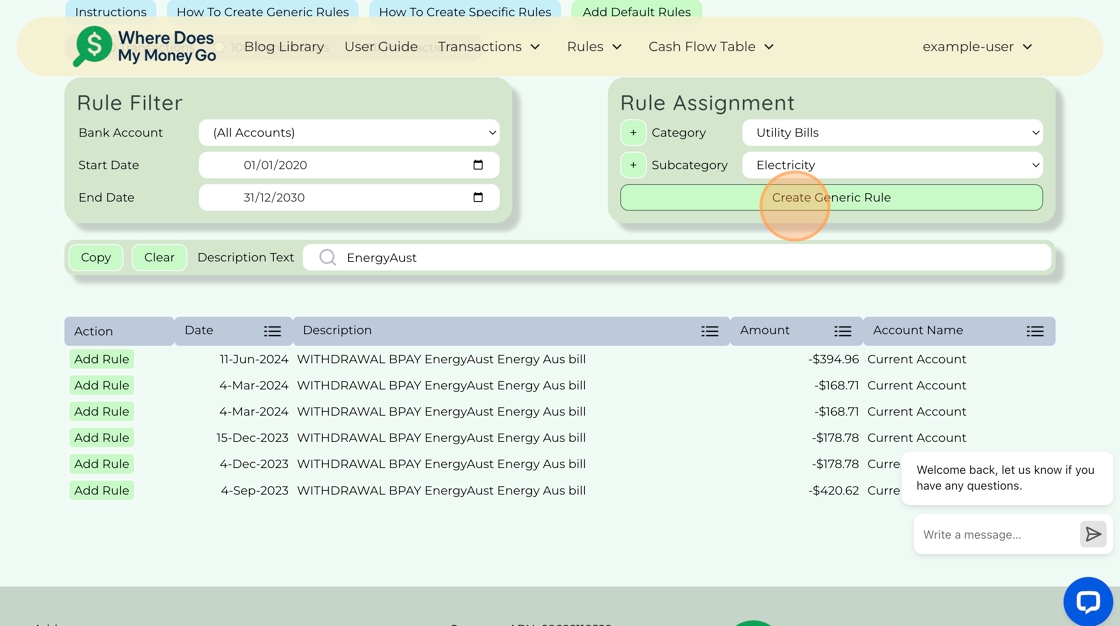
Step 21. Click "Create Generic Rule" to create the rule.
Create Generic Rule
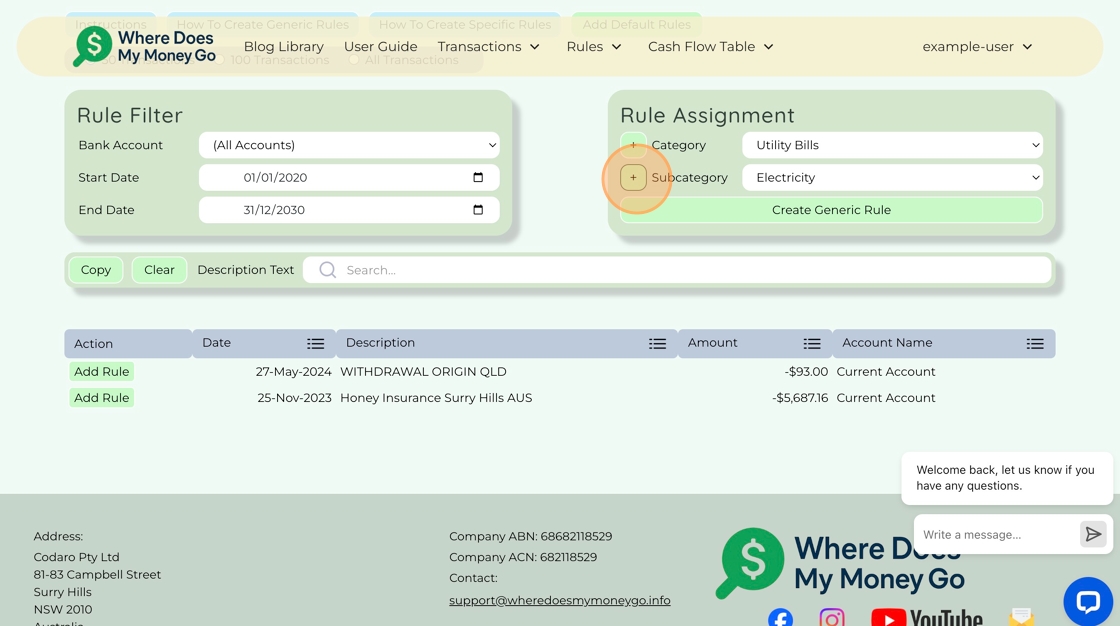
Step 22. Click "+" to Create a New Subcategory.
Now we will do the same for the Gas bill. By creating generic rules, each time there is a transaction which matches the Description Text, Bank Account, Start Date and End Date, it will categorise it.
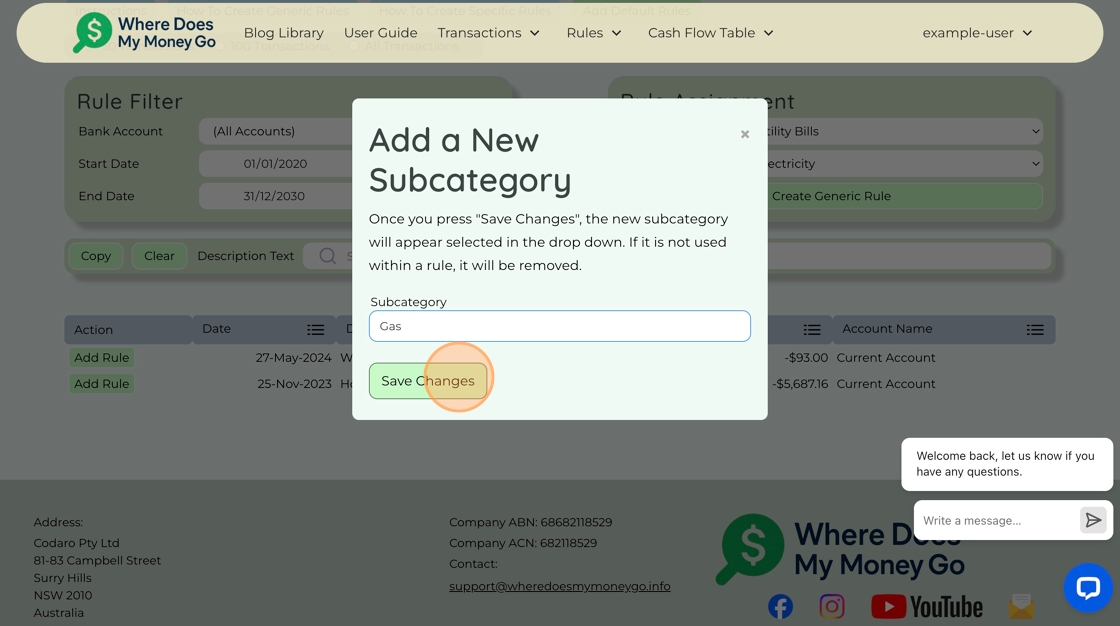
Step 23. Enter the Subcategory Name and click "Save Changes"
Type "Gas" and click "Save Changes"
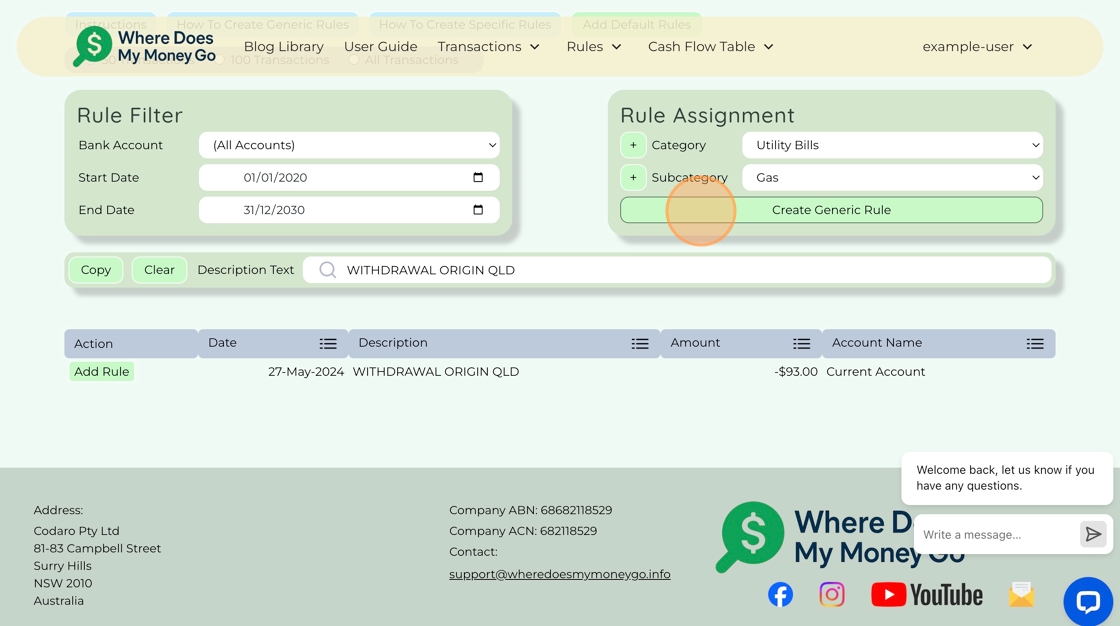
Step 24. Using Your Mouse, Highlight "WITHDRAWAL ORIGIN QLD"
Using your mouse, highlight "WITHDRAWAL ORIGIN QLD"

Step 25. Click "Copy"
This will select the text "WITHDRAWAL ORIGIN QLD" for the generic rule.

Step 26. Click "Create Generic Rule"
Create Specific Rule
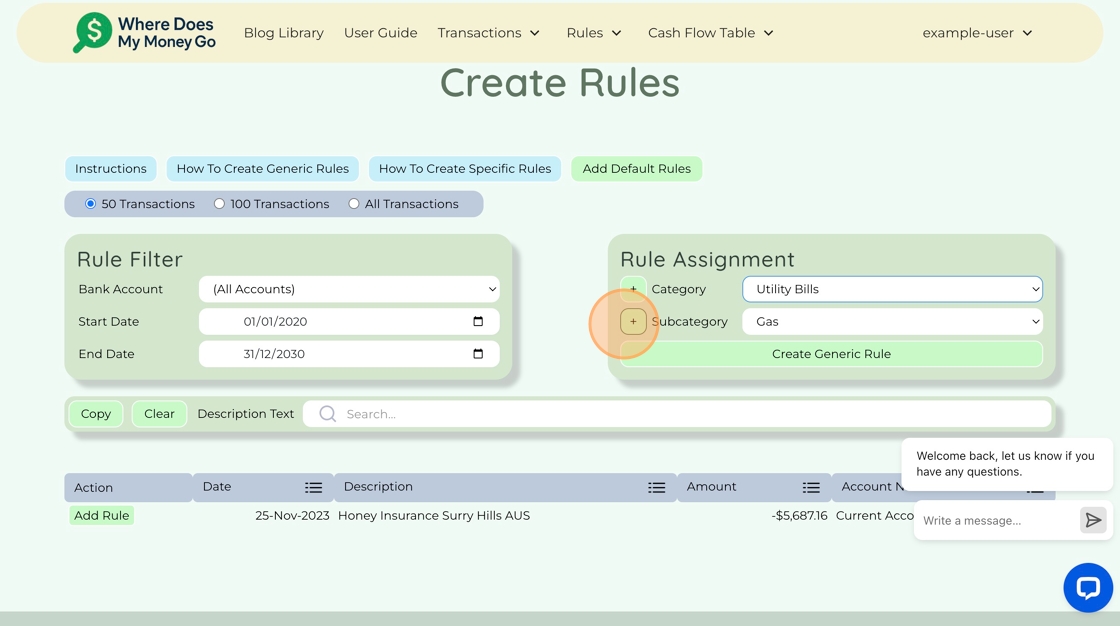
Step 27. Click "+" to Create a New Subcategory.
For the house insurance, because it's a one off payment I want to create a specific rule for that transaction.
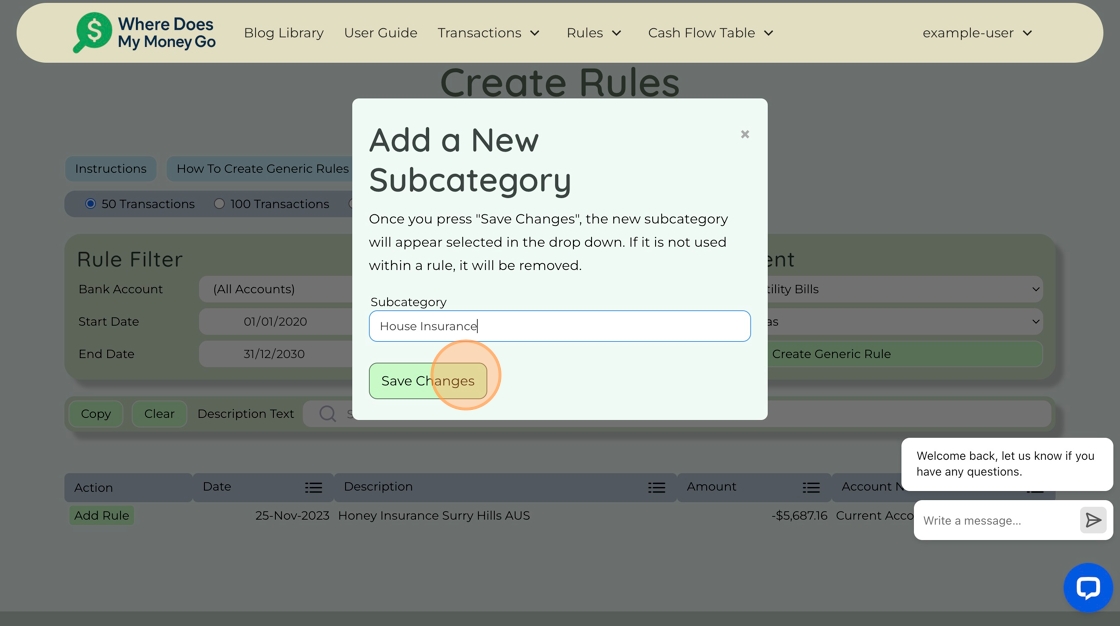
Step 28. Type "House Insurance" and click "Save Changes"
Step 29. Click "Add Rule"

Step 30. Click "Create Specific Rule"
Done
Step 31. Click "Show Cash Flow Table"
Step 32. Great job, you're all set!
All the transactions have now been neatly categorised in the cash flow table. This makes it so much easier to see where your money is going and check if your spending aligns with your goals. It's much better than trying to make sense of 213 separate transactions!